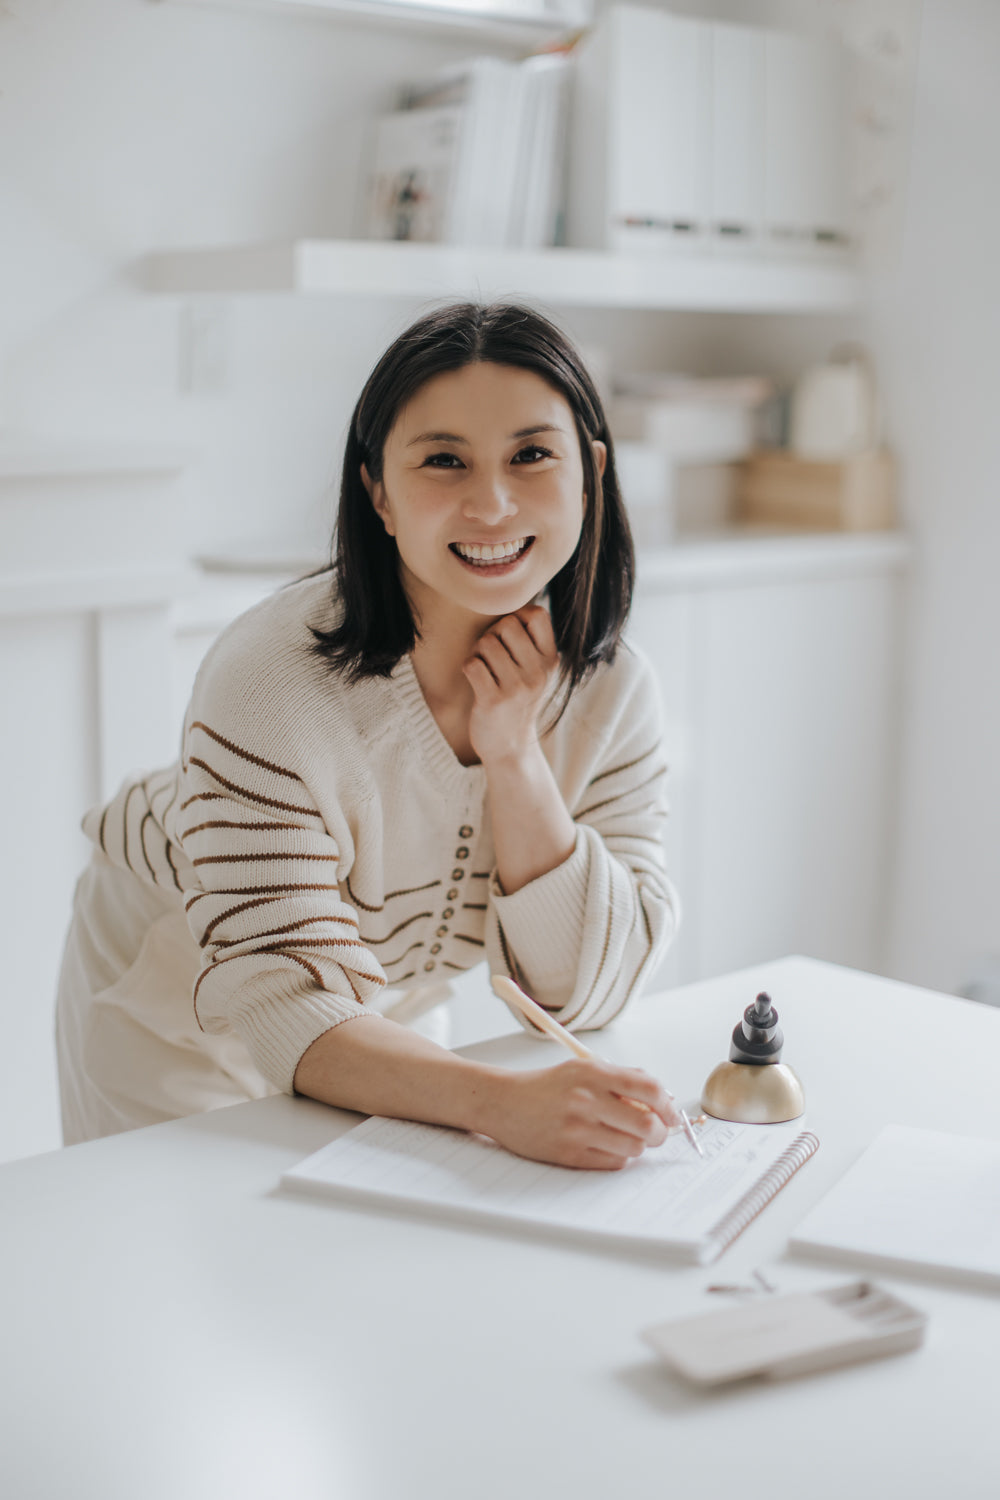
Summer Creative Workshop Recap
As you may have heard, this month I was a part of the Summer Creative Workshop Retreat and let me tell you, it was so much fun! My workshop was on Flatlay Styling and the feedback I was received from those of you who watched was so nice! For those of you who watched it, I hope you learned some new things about how to create a balanced Flatlay and the many things you must consider to create the overall look cohesive yet eye-catching!

As much as I loved teaching, it was also fun getting to answer some of your questions live! I was able to compile a list of questions you guys asked and I wanted to share them here in case you missed it.
Q: Do you create items by hand then have them printed at a printer?
A: Yes, these are printed partially by my printer, and some printed at home. When I do flatlays, sometimes I print other things to add to the suite.
Q: Where can we get these matchboxes?
A: It doesn't have to be matchboxes! It could be anything that is kind of in the height of it. I've used erasers, cardstock, and coasters.
Q: What printer do you use to print your invites?
A: I use the Canon Pro 100. Unfortunately, it's not available anymore but they have the 200 or the 300 and it works just as good.
Q: I'd love to know how you connect your phone camera, and the other 2 cameras to be on the screen?
A: Oh, the way I filmed this was so funny! I had 4 cameras going. One on top, one in front, my laptop was also filming on the side and my iPhone was recording. Then, I edited this video using DaVinci (it's a free program!) but requires video editing experience. I was able to layer multiple videos on top of each other through that program.
Q: Is there an advantage to using cooler or warmer lighting?
A: Warmer lighting is in general a bit easier on our eyes, you can always start with neutral, too. I use an LED light that can change the colour temperature.
Q: Is it better to zoom in or move your camera closer?
A: On your mobile device, zoom in because it makes the focal length a bit more flat. The focal length when it's zoomed out on a mobile device is more "fisheye" so it distorts the end a bit so the card looks less flat. So when you zoom in, the proportions are better.
Q: Is Davinci Resolve 17 the video editor?
A: Yes, exactly! It's definitely way more technical though. If you would like something easy on your mobile device to edit, I use inShot a lot.
Q: Your background boards are super chic. Where do we look for these and how do we decide on one?
A: It depends on what you're trying to shoot! These ones are great for stationery/invites, but whenever I shoot my products, I just use a paper one.
Q: How long does the process usually take you?
A: It depends! Usually when I do a flatlay, I also like to maximize it so even if it takes me 10 minutes to do the flatlay, I would still setup to take a video, reels, or pictures etc. So I'd say each invite, I would spend 30-45 minutes for each one. So after 2 hours, I'm mentally exhausted LOL.
Q: If you can't get good natural lighting, would you suggest post processing or wait until natural light is available?
A: I think as long as you have a window with some light, it can work. You may need to supplement with foam boards so that you can reflect better light, or use studio lighting. Post processing can only help so much.
Q: Any specific type of photography that works for morning/evening sun? Is outdoor photography a bad idea?
A: I personally go for the morning and late afternoon sun but that's part of my aesthetic so I take a lot of those in the summer. In Vancouver, it rains a lot so I usually get overcast/cloudy.
Q: Is it better to sit or stand?
A: I would say stand so you can get a bird's eye view.
Q: Does this work for other items?
A: Yes, it definitely works for other things as well! I use it a lot for photographing food, "flatter" products, etc.
... and that's it! In case you missed the Summer Creative Retreat, no worries. Although the retreat isn't free anymore, you can still watch my video and so many others through this link here.
Now, if after watching my video, you're interested in starting a calligraphy business but are feeling overwhelmed with the thought of it all, I want to invite you to join my course called Calligraphy Business Kickstarter. This is a 6-week business course, to help start your business from concept to launch - taught by a calligrapher for calligraphers, whether you'd like to offer a product, service, an online shop or a blend of these. My goal is to teach you everything I wish someone taught me when I first started my calligraphy journey!

Ready to start? Join the waitlist here - enrolment is going to be opening in August 2021.